Part 16: Proving Grounds
Proving Grounds
(Video / Mirror 6.9MB)
(Audio / Mirror 1.1MB)
OK you guys really don't need a screenshot of the briefing, you've seen them before. Just put in your head the Aquitane, a wing of fighters (you) and a wing of fighters (Delta, marked hostile) in a triangle. Bam.
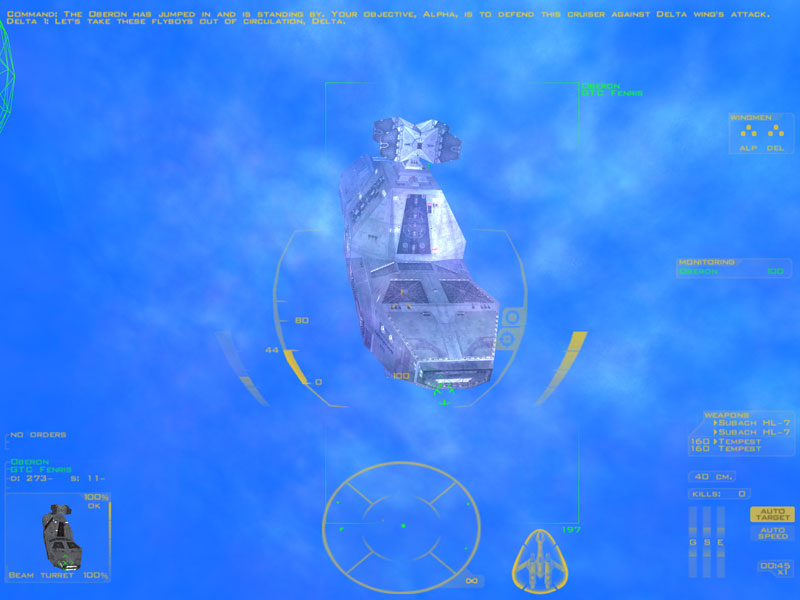
In our continuing role of testing things, today we're testing the Pegasus stealth fighter. By "we" I mean "Delta gets to." An old Fenris cruiser, the Oberon, will get jumped in and used as a giant target. Delta, in their stealth Pegasus fighters, will try and destroy it. Alpha, in our Perseus or Myrmidon fighters, will try and prevent this by hitting them with our TRAINING WEAPONS.

Here is a Pegasus:
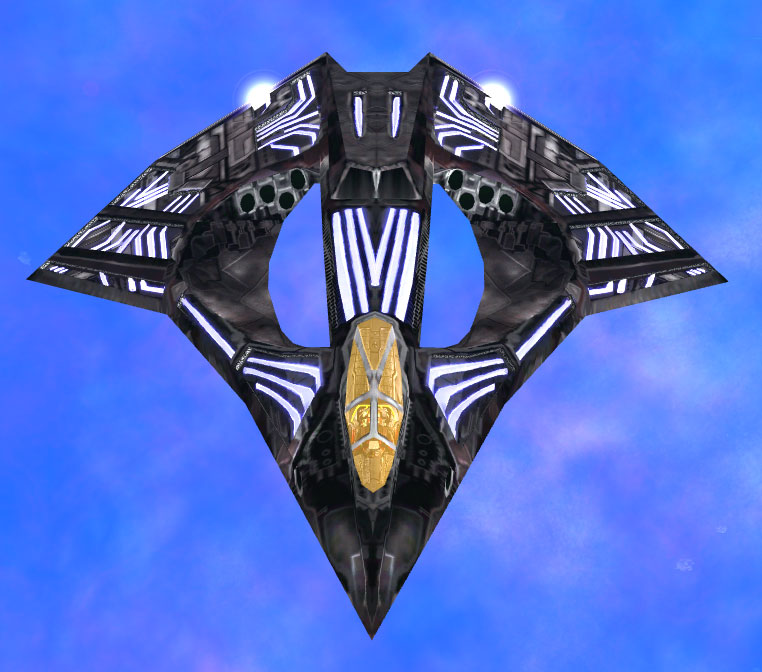
You'll note the SCP team has done quite a bit of retexturing and remodelling work. The FS2 Pegasus has about 3 polys.
You remember where I said I used the Morningstar? Here's the only applicable place. Since you can't deal damage, smacking the Pegasus fighters around works pretty well.
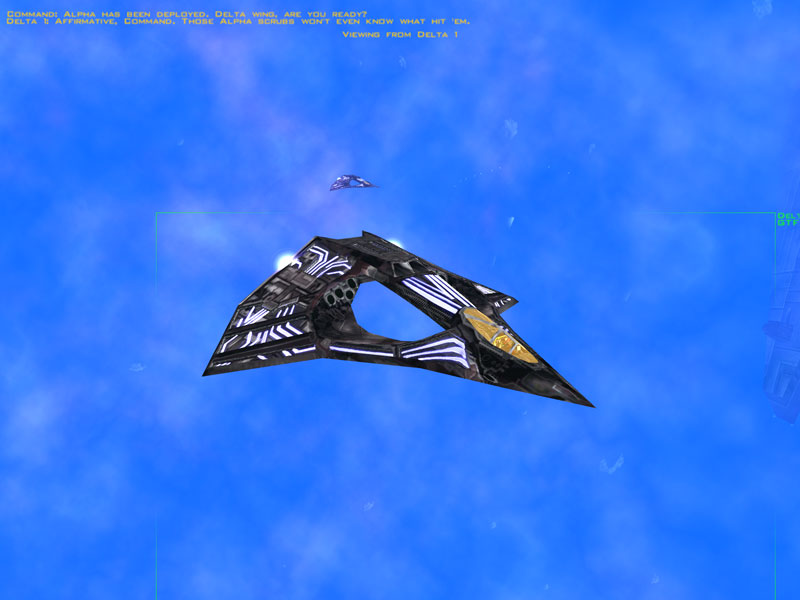
Command: Alpha has been deployed. Delta wing, are you ready?
Delta 1: Affirmative, Command. Those Alpha scrubs won't even know what hit 'em.
Command: Alpha, we are switching your weapons to training mode. Your guns and missiles will inflict superficial damage.
Alpha 2: With all due respect, I reccomend we use live ammo for this exercise, sir.
At least morale is high.

Delta 1: Let's take these flyboys out of circulation, Delta.
Command: This exercise will begin in 5...4...3...2...1. Delta wing, engage stealth mode.
Delta promptly turns hostile for a split second, then disappears off my radar. No fuzzy blip, nothing.
As they attack, you try and shoot them (tracking their cannon signature works okay, since they're small and hard to pick out in the nebula so you need something to help you find them) and basically are stuck with this for a few minutes of them dealing out damage as your wingmen run around confused:

As you fight, Delta, Alpha, and Command all exchange data about the Pegasus fighters. None of it is really helpful
to you right now, but it is an accurate description of the thing:
Command: Gathering test data now. All systems are functioning normally.
Alpha 3: Here they come!
Alpha 2: Stay on them, Alpha. Don't lose visual contact!
Alpha 3: Target profile is razor thin. Hard to hit at medium range.
Command: Alpha, can you target Delta Wing?
Alpha 2: Negative, Command. Even at point blank range my sensors pick up nothing.
Command: Good. How are you holding up, Delta?
Delta 1: Shielding and armor have a low damage threshold.
Delta 2: Speed and manueverability are well above average.
Delta 1: Limited offensive capability. An excellent reconnaissance fighter in my estimation.
Now it's useful for the player to see all this, but one would hope the GTVA actually tested these things before just crating them up and slinging them into a war zone in an uncharted hostile nebular environment.
Unfortunately, they lose. And yeah I broke this into two lines sort of awkwardly since shrinking it to 800px wide would've made it illegible. Of course, this isn't exactly elegant, but whatever.

Here's the good news: As far as I can tell it does not matter if you succeed or fail this. The debrief doesn't seem to indicate anything one way or the other. I may be wrong about that, but it seems like the dialogue is all that gets changed - you successfully complete the 'Protect the Oberon' objective even if Command tells you Delta "won."
Right as Command tells you whether you passed or failed protecting the cruiser and that they're getting ready for the second test, a wing of four Maras jump in, followed quickly by four bombers.
Command: Abort the exercise! Repeat! Abort the exercise! Sensors are reading incoming hostiles! Delta wing, return to the Aquitane on the double.
The rest of this mission is actually a nice lesson in why the AWACS in the nebula actually helps - because you don't have one and you can tell. The Aquitane can pull targeting data from you and your wingmen, but its sensors can't penetrate the nebula fog out to its maximum weapon range. So if you head out and engage the enemy at range, the Aquitane can 'see' through you and will direct weapon fire appropriately. Otherwise enemies get far, far too close before it can open fire on its own.
Command orders the Aquitane out of the nebula, and they set course for the jump node - six minutes until they get out.
After splashing the bombers, the Shivans jump in a Moloch-class corvette, the Tiamat. It can see you, but you can't see it initially, meaning its main gun (chin-mounted, as with the Fenris) can carve into the Aquitaine with no real worry of reprisal until the Aquitane gets much closer. As the Shivans keep putting fighters and bomber wings into the mix, that might not actually be a worry.
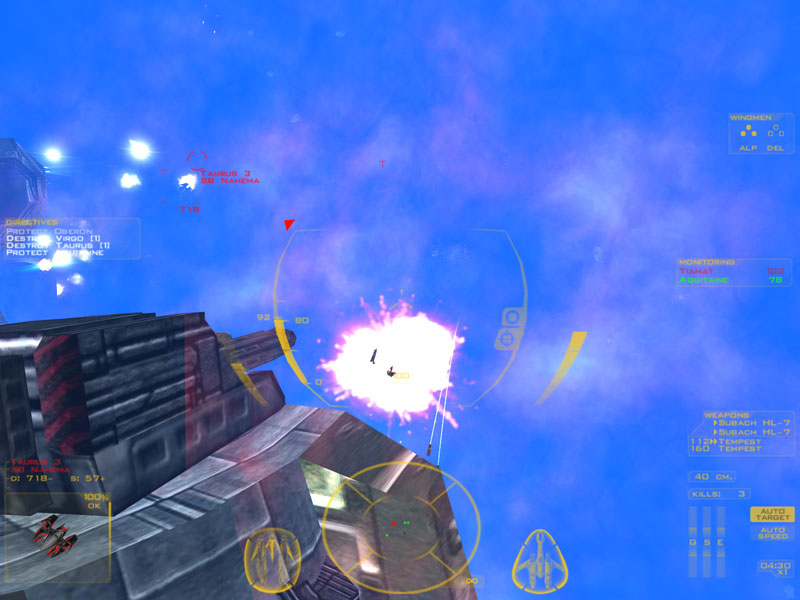
However, if you get close to the Aquitane and act as a targeting relay, well:

Let's just say they make up for lost time. Beware of the pair of Basilisk fighters which jump in with the Tiamat and do NOTHING but sit on YOUR ass and unload swarmer missiles. Get the chin gun of the Tiamat, then the Basilisks, then hammer the Tiamat as much as you can. If you want a perfect mission you have to get this thing destroyed; which means not only staying near it so Aquitane can kill it, but damaging it enough Aquitane can kill it in time. It won't wait around to kill this for you. More than once I've had the Tiamat at 1% hull, unable to kill it because of the large capital ships flag.

Still sometimes it just goes your way

After the Aquitane gets out, you mop up and Command orders you home - out of this stupid nebula, finally.

Let's hope our next tour of duty in a bomber squadron doesn't involve the Boanerges at all ever.
NEXT!:
My favorite mission in this entire game. Seriously it is just fun to play.